 Free Shipping over $5,000
 15 Years in Business
 18mo No Interest Financing
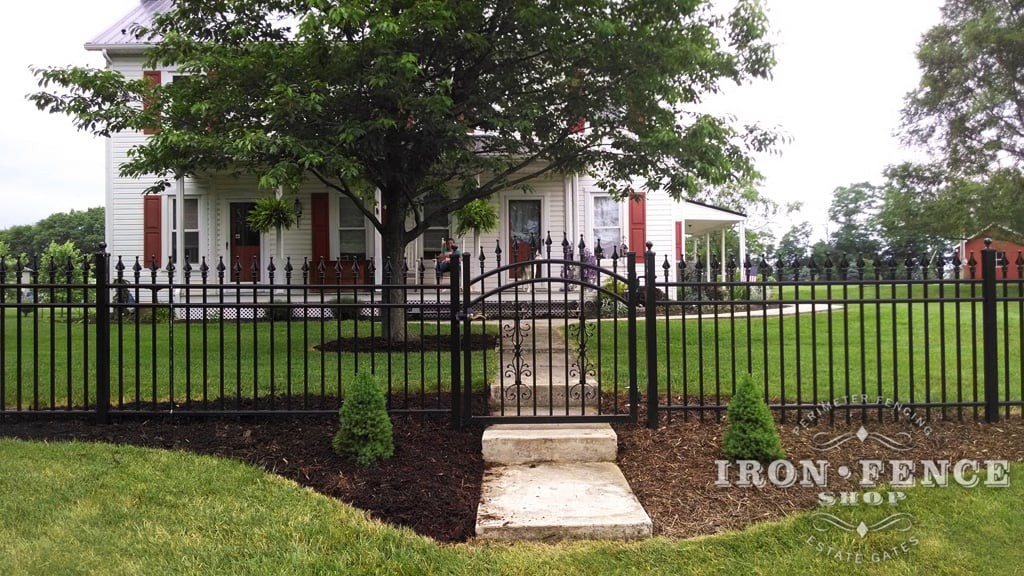
Aluminum fences are a popular choice for homeowners due to their durability, low maintenance, and aesthetic appeal. They enhance the visual appeal of a property without obstructing views.
Installing an aluminum fence involves careful planning and execution to ensure it is both functional and visually pleasing. This article outlines the best practices for installing an aluminum fence, addressing common questions and challenges associated with the process.
What Tools and Supplies Will I Need?
For a successful aluminum fence installation, it is essential to gather the appropriate tools and supplies beforehand. This preparation ensures a smooth installation process and helps avoid unnecessary delays. The following is a comprehensive list of tools and materials typically required for the installation of an aluminum fence:
Tools
- String Line and Stakes: Used to mark a straight line along which the aluminum fence will be installed, ensuring alignment and consistency across the entire length of the fence.
- Shovel and Post Hole Digger (Manual or Powered): Essential for digging holes to the appropriate depth to set aluminum fence posts, depending on soil conditions and project size.
- Tub, Wheelbarrow, or Powered Mixer: Needed for mixing concrete when setting the aluminum fence posts securely.
- Measuring Tape: Crucial for accurately determining the installation area’s dimensions and ensuring correct spacing of aluminum fence panels and posts.
- Level: Ensures that the aluminum fence posts and panels are installed straight and even, which is vital for overall structure and aesthetic appeal.
- Rubber Mallet and Regular Hammer: Used for gently adjusting aluminum fence panels and posts and driving in necessary fixtures without damaging materials.
- Hacksaw or Sawzall: Appropriate for trimming panels when adjustments are required for a custom fit.
- High-Speed Drill or Power Driver: Essential for securing fence panels to posts efficiently and accurately.
- Center Punch: Used to mark drill points on aluminum for accurate placement of screws or fasteners.
- Socket and/or Wrench Set: Necessary for installing the supplied gate hardware securely.
- Caulk Gun: Helpful for sealing caps or other joints if needed during installation.
Miscellaneous Supplies
- Concrete Mix: Any standard concrete mix will work for setting the aluminum fence posts securely. Reinforced or fast-setting concrete can be used, but it is not required. The number of concrete bags needed will vary depending on the size and length of posts being buried.
- Large Gravel (Optional): Adding large gravel to the bottom of fence post holes allows for proper moisture drainage, reducing the chances of post sinking due to freezing or excessive water. Gravel is especially helpful if post holes are accidentally dug too deep.
- High Visibility Spray Paint: Used to mark the locations of post holes during the layout phase, ensuring accuracy in the digging process.
- Steel Rebar or Wood Stakes: These are tapped into the ground and used to wrap the string line for marking a straight and consistent fence alignment during installation.
- Protective Gear: Safety glasses, gloves, and other protective equipment are recommended to ensure safety during the installation process.
By assembling these tools and supplies in advance, individuals can facilitate an efficient and effective installation of an aluminum fence, ensuring both functionality and durability.
How to Measure and Mark the Installation Area?
To prepare for aluminum fence installation, start by measuring the perimeter of the area to be enclosed using a tape measure. Include corners and changes in direction in your measurements, and create a detailed sketch noting dimensions and any obstacles like trees or structures.
Use a string line when you marked the fence layout initially. The purpose of the string line is to make sure all of your posts remain in a straight line as you install the fence.
Consider property lines and boundaries, utility lines, and the terrain. Uneven ground or slopes may require adjustments to post spacing to maintain a consistent height. Proper planning will ensure a smooth installation process.
Pro Tip: Always check local zoning regulations and obtain permits before installing an aluminum fence, if necessary. This ensures compliance with property boundaries and avoids costly adjustments later!
Steps to Install an Aluminum Fence
Installing an aluminum fence is a step-by-step process that requires precision and attention to detail to ensure the final structure is secure, durable, and visually appealing. One critical aspect is following best practices at every stage of the installation, from setting the posts to aligning the panels.
Here’s a guide to help you achieve professional-level results for your aluminum fence project.
1. Setting the Aluminum Fence Posts
The foundation of any great aluminum fence starts with properly installed posts. They provide the structural support that ensures the stability and longevity of your fence. Here’s why setting posts correctly is non-negotiable and how to do it right:
- Identify the Post Spacing: Using the string line run for guidance, you need to determine how far apart your posts will be spaced. This will vary based on whether a full fence panel, trimmed fence panel or gate is going in-between two posts. Do the necessary measurements.
- Determine the Post Depth: A good rule of thumb is to bury posts at least one-third their total length, with a minimum depth of 24 inches. This ensures the fence remains stable and prevents frost heave in colder climates.
For example, a 6-foot fence would require posts to be buried at least 2 feet deep. Deeper fence post holes offer stronger support, particularly for taller fences or properties in areas prone to high winds or unstable soil.
- Dig Larger Holes for Better Support: Use a post hole digger or auger to create holes at least three times the width of the posts. Wider holes allow more concrete support and better anchoring, which is essential for long-term durability.
- Align with Precision: Maintain consistent spacing, depending on the fence design. Use a level to ensure each post is perfectly vertical and align them with a taut string line stretching between corner posts. This simple guideline guarantees a straight fence with no awkward angles.
- Secure with Quality Concrete: Pour quick-setting concrete into the holes, evenly distributing it to eliminate air pockets. Shape the surface downward away from the post to facilitate water drainage. Quick-setting concrete is a preferred choice for its ease of use and rapid curing, which allows you to move to the next installation step sooner without sacrificing strength.
Mix your concrete to a thick consistency, similar to chunky peanut butter. This ensures it can hold the post upright in the hole without needing additional support.
- Check Alignment Regularly: Continuously check the alignment and level of all posts throughout the process. Even a small deviation can result in a crooked fence, undermining both its appearance and functionality. Adjust the posts before the concrete fully sets to eliminate misalignments. Allow the concrete to cure for 24-48 hours before attaching the panels.
2. Attaching the Fence Panels
Fence panels connect the posts and are the most visible part of your aluminum fence. Properly attaching the panels not only ensures strength but also contributes to the overall aesthetics of the fence.
- Gather the Right Tools: To make the process smooth, have all necessary tools on hand, including a power drill, level, measuring tape, and the appropriate fasteners (such as screws or brackets). Using the right fasteners ensures a secure and lasting attachment.
- Align Each Panel with Care: Begin by placing the first panel between two posts and ensure it is level before securing it. Use a spirit or laser level to confirm horizontal alignment. This step helps maintain a uniform fence line throughout the installation.
- Secure Top to Bottom: Attach the panel starting at the top and then secure the bottom. This approach prevents the panel from shifting during installation and ensures consistent alignment.
- Adjust for Fit If Necessary: Properties with unique layouts may require cutting panels to fit specific dimensions. When making adjustments, take precise measurements and use proper cutting tools to avoid damaging the panel or its coating. For sloped terrain, stepped or rackable panels offer the best solution, as they provide flexibility to accommodate height changes while maintaining a clean, continuous look.
3. Ensuring the Fence is Level and Secure
A properly installed aluminum fence should be level, aligned, and secure to withstand daily use and environmental challenges. Here are the best practices to achieve a flawless finish and why they are crucial:
- Anchor Posts Firmly: Posts that are properly leveled and secured in concrete are the backbone of a stable fence. Slight misalignments during this stage can cause structural weaknesses or uneven fence lines, so check them continuously before the concrete sets.
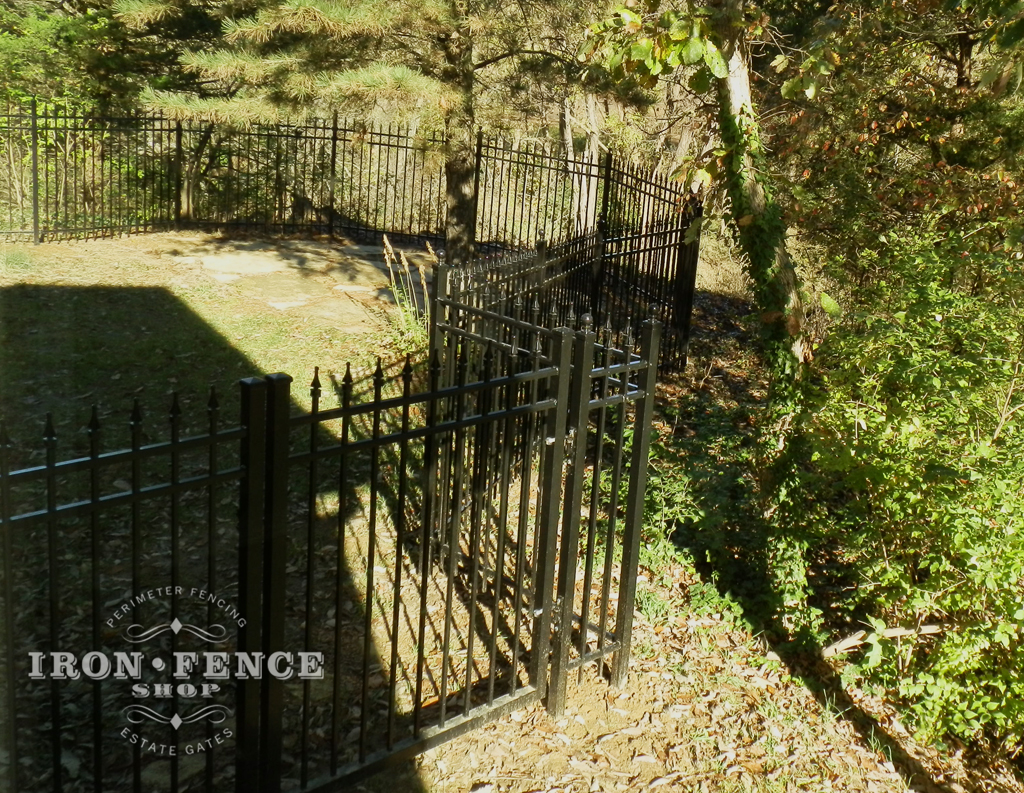
- Address Uneven Terrain Proactively: For properties with sloped ground, stepped or rackable panels are the best choice to maintain visual appeal and consistent height. Adjusting panel heights on uneven terrain ensures a seamless look while avoiding gaps at the fence’s base.
- Secure Fasteners and Check Stability: Tighten all screws, brackets, and fasteners securely. This step is vital for the fence’s long-term stability and safety. A secure fence not only provides effective property protection but also withstands impacts from weather conditions like strong winds or heavy rain.
- Perform Regular Spot Checks: As you progress, inspect the alignment of posts, brackets, and panels periodically. Promptly fix any misalignments or loosening to prevent issues down the line.
Key Insight: Installing an aluminum fence requires careful precision to ensure stability, durability, and visual appeal. By focusing on proper post placement and panel alignment at every step, you can achieve professional results and a fence that stands the test of time.
How Do I Clean And Protect The Fence From Weather Damage?
To clean and protect an aluminum fence from weather damage, rinse the surface with a garden hose to remove loose dirt, then use a mild detergent with warm water and a soft cloth for tougher stains, avoiding abrasive materials or harsh chemicals that can harm the protective coating. After cleaning, rinse thoroughly and allow the entire fence to dry completely to avoid water spots.
To shield the fence from UV rays, moisture, and other environmental factors, apply a protective wax or sealant designed for aluminum at least once a year, or more often in harsh climates. Regularly inspect the fence for scratches, chips, or wear in the protective coating, and address issues promptly to prevent further damage. These steps ensure the fence remains durable and visually appealing despite weather challenges.
Bring Your Aluminum Fence Project to Life
Now that you know the best way to install an aluminum fence, it’s time to bring your vision to life with Iron Fence Shop’s premium products. Explore our exclusive range of aluminum fences, featuring authentic detailing and a durable TGIC powder coat finish, ensuring your investment stands the test of time.
Don’t wait—contact our expert team today at [email protected] and 800-261-2729 to get personalized advice and start your project with confidence!