 Free Shipping over $5,000
 15 Years in Business
 18mo No Interest Financing
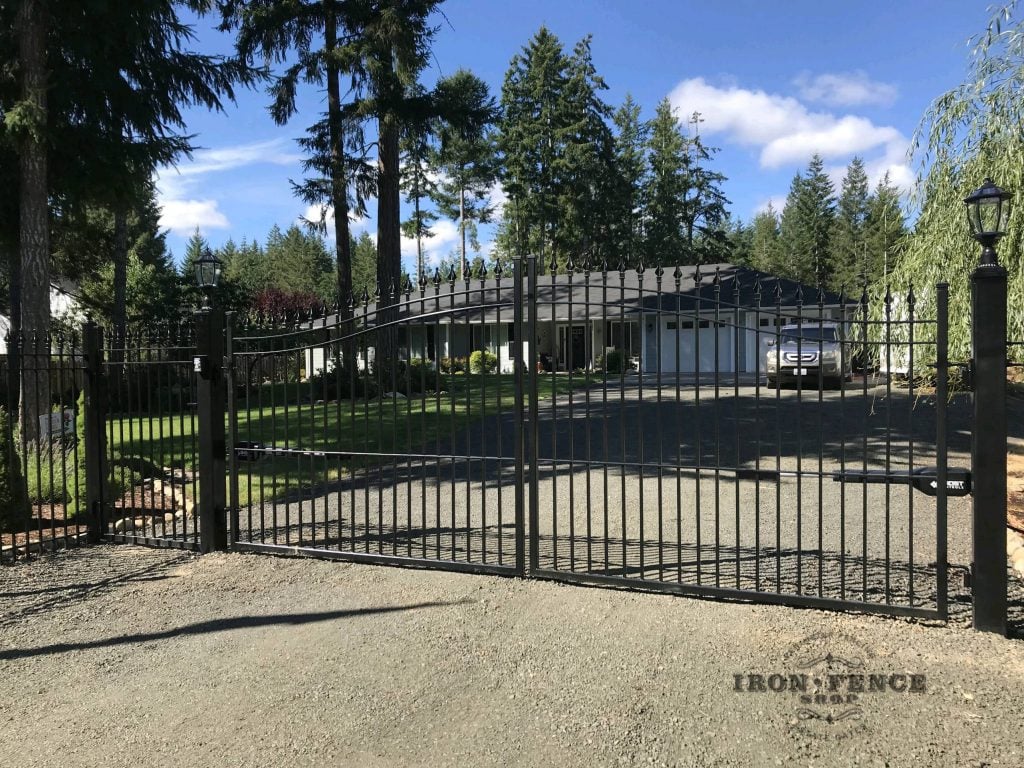
When installing gates, it’s key to getting your driveway gate post placements correct. Luckily, calculating your driveway gate’s post spacing, post hole depth, and post hole width is pretty easy. However, they are calculations you’ll want to know before you start digging.
To correctly position your driveway gate posts, there are five essential measurements you need to calculate for gate size:
- Center-to-Center Post Spacing: Add the gate width, hinge/latch gap, and the width of one post to calculate how far apart the centers of the post holes should be.
- Inside-to-Inside Post Spacing: Add the gate width and hinge/latch gap to determine the clear space between the two posts.
- Outside-to-Outside Post Spacing: Add the gate width, hinge/latch gap, and the widths of both posts to get the total outer width of the entire gate system.
- Post Hole Diameter: Multiply the width of your post by three to find the minimum hole diameter. For example, a 6-inch-wide post will require an 18-inch-wide hole.
- Post Hole Depth: Subtract your gate height (at the hinges) and the gap under the gate from the total length of the post. This calculation ensures the post is buried deep enough for stability.
These calculations ensure your gate frame is aligned and securely fixed. Always check alignment with a straight edge before setting the posts in place.
Practical Tips for Accurate Measurements
- Adjust Your Gate Hinges and Latches: For J-bolt style hinges and supply latches (commonly used with double gates), use 8.5 inches for your hinge and latch gap. For single gates, this is typically 4.5 inches. These provide enough adjustment room, but if you’re using different hardware, consult your gate’s installation guide or manufacturer for confirmation.
- Accommodate Driveway Details: When setting the gap between your gate and driveway, consider important factors like:
- Driveway Peak: If the driveway has a peak, measure the gap at the highest point to ensure proper clearance when in an open position.
- Driveway Slope: Measure the slope and ensure the swinging gate opens smoothly, even over uneven surfaces.
- Snow Compaction: In snowy areas, ensure the closed position leaves the gate high enough to clear compacted snow or ice buildup.
- Overdig and Add Gravel: For precise depth, dig a few inches deeper than the calculated value and use tamped gravel to fine-tune the final hole depth while improving drainage. When installing hardware, carefully drill into posts to ensure precise placement of hinges and latches.
In the video below, we walk through how to calculate all these measurements in more detail in a visual and easy-to-understand way, with specific examples:
Check it out!
Helping Homeowners with DIY Projects
For homeowners, understanding post spacing, width, and depth makes DIY gate installations significantly easier. It prevents costly mistakes like uneven spacing or gate misalignment, ensuring the gate functions perfectly once installed.
With the right measurements, homeowners can effectively plan their projects, select the correct tools, and prepare for a streamlined installation process free of unnecessary roadblocks. This knowledge empowers them to undertake the project confidently and achieve professional-looking results that seamlessly fit into their house’s overall design.
Assisting Contractors and Installers
For contractors and installers, accurate post spacing and dimensions ensure precision and speed during the gate installation process. A clear understanding of these principles helps avoid delays caused by improper placement or miscalculations. It improves the overall quality of the installation, offering clients stable, well-fitted driveway gates.
Furthermore, this expertise allows professionals to face challenges like uneven driveways or loose soil with the right strategies, delivering a durable and reliable solution every time. The addition of a gate opener can also streamline functionality and enhance ease of use.
Enhancing Long-Term Functionality for Everyone
For both homeowners and professionals, mastering these fundamentals ensures the gate remains stable, functional, and visually appealing over time. Proper post-installation not only prioritizes safety but also reduces long-term maintenance issues, such as sagging or shifting, which often result from poor placement.
Additionally, a well-planned and correctly executed gate installation enhances the property’s overall appearance while increasing its value.
Whether taking on a DIY project or providing professional services, understanding these basic principles is key to achieving a long-lasting, dependable driveway gate.